Most teams treat the first good-looking print like a finish line. The part arrived, it fits, it looks right — so the job must be done. A3D Manufacturing’s answer is that the part is the wrong unit of proof. A prototype is a process snapshot: humidity, temperature, who post-processed it, and how the toolpath ran that day are all in that one sample. Until you understand the process under it, you have not validated anything you can scale.
That is the throughline of Episode 3 of Design. Validate. Scale., the five-part fireside chat series from A3D Manufacturing and Hawk Ridge Systems. Episode 1 covers ideation and design. Episode 2 covers choosing how each part gets made. Episode 3, Validating Before You Scale, is the step most teams rush: physical learning without mistaking a hero sample for a production method.
Host David Whitten, an account manager at Hawk Ridge Systems, sits down with Michael Dymond, product manager at A3D Manufacturing. Michael brings a materials science background and about a decade in the industry.
Watch the Full Fireside Chat: Episode 3, Validating Before You Scale
Want the full visual session with the slides Michael and David walk through? Sign up to watch the complete fireside chat — it takes a few seconds.
Chapters
- 0:00 – Welcome & shop update
- 1:30 – Intros
- 3:00 – Episode 3: prototyping
- 4:14 – A prototype is a snapshot of the process
- 5:40 – Prove the process, not just the part
- 6:22 – Cosmetic quantity-one vs. production intent
- 9:18 – Form, fit, function: sneak up on requirements
- 11:07 – Track-day trim: right-size the hammer
- 12:21 – Form = UX in the hand
- 13:49 – Fit: assembly surprises CAD misses
- 14:46 – Function: break one, age one
- 15:43 – Material datasheets as a guiding light
- 17:48 – What bridge production is for
- 21:19 – Key takeaways
- 22:44 – Cost of early physical validation
- 23:31 – Wrap-up & Episode 4
Sign up for the full series to get every episode as it drops. Catch up on Episode 1: Ideation and Design and Episode 2: Choosing the Right Manufacturing Path.
Prove the Process, Not Just the Part
- A prototype records what the technology did that day — not what it will do next week
- Calipers belong on fits that succeed, not only on fits that fail
- A “minus day” can hide variation that a “plus day” at quantity 25 will expose
- The goal is the bell curve under the process, not one perfect part
“A prototype in and of itself is a snapshot of what that technology was doing that day under its set of circumstances.”
Michael Dymond, Product Manager, A3D Manufacturing
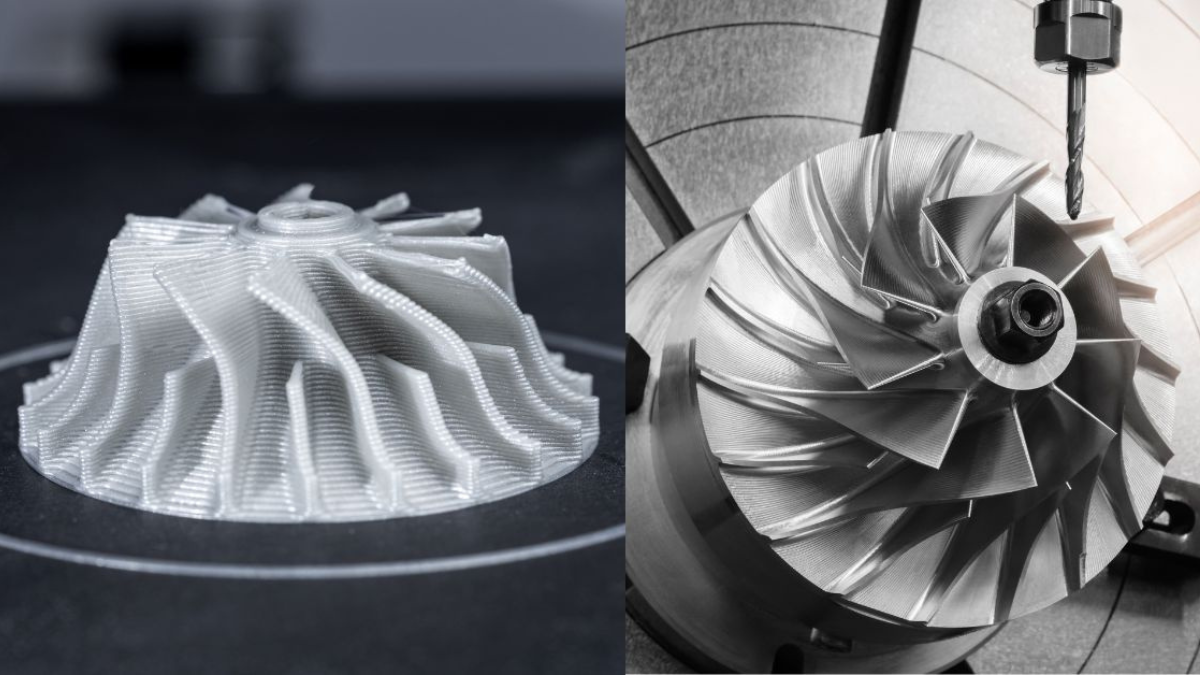
People open the calipers when assembly fails. Michael wants the opposite habit. The printer may have had a minus day, so the part slides together. The following week you are making 25 on a plus day, and nothing fits the way it should. You did not validate a production method. You validated one good day.
“Break out the calipers when something does fit.”
Michael Dymond, Product Manager, A3D Manufacturing
Cosmetic Quantity One Does Not Scale
- Quantity one can look and behave like production after days of finishing
- The same finishing tech cannot sand and paint forever at higher throughput
- Prototype to teach what you need and to set up success as quantity rises
- Between onesies and hard tooling, expect variability — and plan for it
A onesie can hit final color and minimum viable function — that still is not a production plan. Use it to learn what the part needs, then pick an interim process that can carry that learning without hero-level hand finishing on every piece.
Sneak Up on Form, Fit, and Function
- Long requirements lists get expensive if you try to check every box on rev 1
- Quick FDM for hand-size sanity; higher fidelity or CNC when tolerances matter
- Cosmetic models for decision makers; ruggedized models for field users
- Match the validation stop to the test — not every trial needs UV and perfect color
Track-day plastic trim is the example Michael likes. You are testing aero or debris durability for one week. You do not need perfect gunmetal gray or multi-year UV. You need correct form and mechanical properties so the pieces assemble and survive the test.
Form is less CAD accuracy and more UX in the hand — bulky, transportable, ergonomic. Fit is what CAD assemblies hide until parts go together: square-into-round-hole problems, interferences, assembly surprises. Function needs more than best-case user testing. If you want quantity one, make quantity two and break one. Make a third for aging — sun, humidity, seawater — so you get longevity data, not only day-one performance.
Datasheets Are a Guiding Light
- Material behavior is independent of geometry until you put geometry on it
- Nylon changes with moisture; additive can be about 40% stronger in X/Y than in Z
- Two materials with the same ultimate tensile strength can fail in opposite ways
- Candidate selection starts on paper; confidence comes from a real part
Two materials can look similar on paper and behave very differently once they sit in your geometry. The same ultimate tensile strength can mean a catastrophic non-plastic failure in one case and a slow, boring plastic failure in another. You find that out by making the part and testing it — not by comparing datasheets alone.
Bridge Production Is Where Scale Gets Real
- Interim between onesie prototypes and tools for tens of thousands
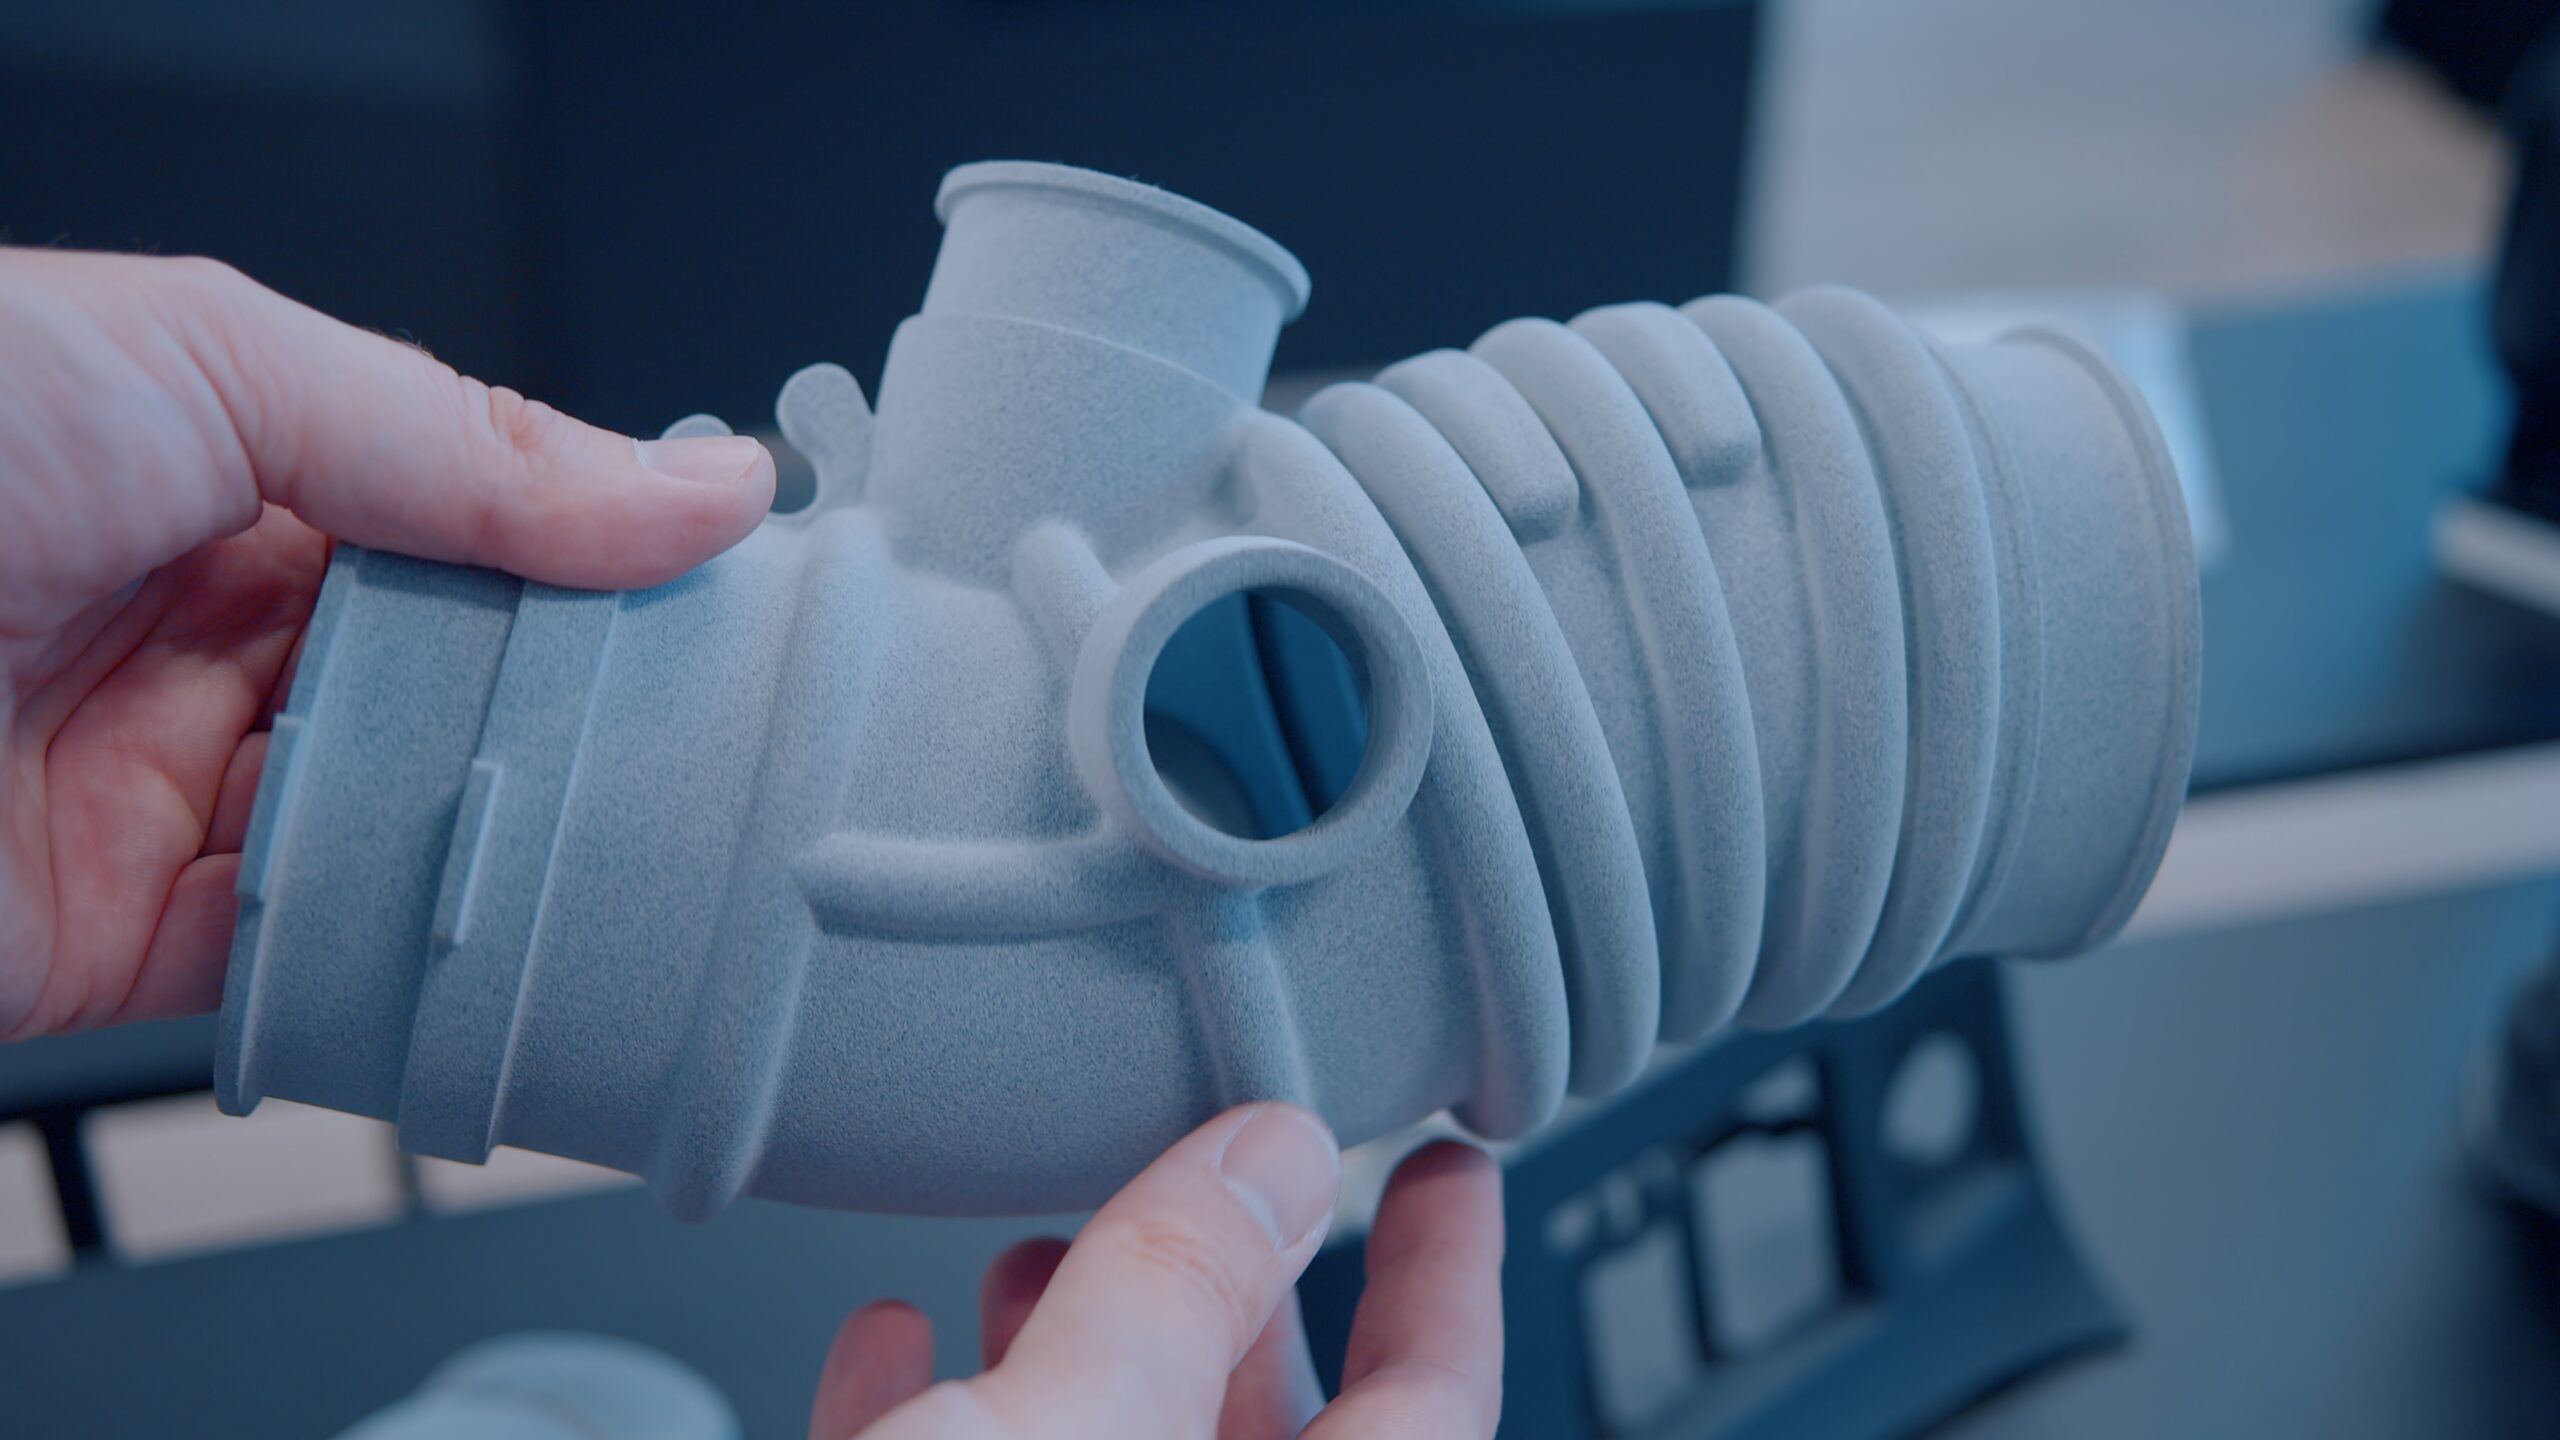
- Urethane casting, compression molding, or scalable additive fill the gap
- High sample size surfaces bottlenecks, assemblability, and repeatability data
- Roughly 30 to a few dozen is often the last light-DFM window before a ~10k tool commit
- Early physical validation can beat hours of FEA when a few prints answer the question
At tens, hundreds, and thousands, you surface inefficiencies you can fix with manufacturing aids, jigs, fixtures, or light design tweaks. Michael’s example: hundreds per print and thousands per week on paper, blocked by tiny channels that needed a human with a pipe cleaner all day. Adding a through-hole on the other side of the channel let debris blow out and unblocked the bottleneck.
David frames the lower-volume window as roughly 30 to a few dozen before committing to a tool for something like 10,000 — a last chance for light DFM before tooling locks cost in.
Early physical validation is often cheaper than staying in CAD. David’s example is roughly $150 on quick prints to get out of the CAD loop, which can beat hours of research, FEA, and simulation when a couple of printed parts will tell you how they actually perform.
Frequently Asked Questions
Why validate the process instead of only the part?
Because a prototype is a snapshot of that day’s conditions. Understanding the process bell curve is what lets quantity 25 behave like quantity 1.
When should I break out the calipers?
When the part fits — not only when it fails. A minus-day fit can hide variation that shows up on a plus day at higher quantity.
Do I need a production-looking finish on every prototype?
No. Match finish and durability to the test. A one-week track trial needs form and mechanical properties, not multi-year UV or perfect color.
What is progressive validation?
Sneaking up on a long requirements list: FDM for hand feel, then higher fidelity or CNC for tolerances, with different models for executives and field users instead of one overbuilt rev 1.
What is bridge production?
The interim between onesie prototypes and hard tooling for tens of thousands — often urethane casting, compression molding, or scalable additive — where you gather yield, assemblability, and bottleneck data before locking a tool.
Are datasheets enough to pick a material?
They are a guiding light for candidates. Two materials can share the same ultimate tensile strength and fail completely differently in your geometry. Make the part and test it.
How much should early physical validation cost?
It varies by size and process, but David’s example is on the order of $150 for quick-and-dirty prints when that answers the question faster than hours of FEA and research.
Coming Up in the Design, Validate, Scale Series
Key takeaways from Episode 3:
- Prove the process, not just the part — a prototype is a snapshot
- Right-size the hammer: progressive form, fit, function, and aging tests
- Use bridge production to surface bottlenecks and collect DFM data before tooling
Episode 3 is the validation step between path choice and scale. Episode 4 lands next month. Register once for the series and every session is available on demand.
If you are deciding how far a prototype should go before bridge or tooling, that is the work A3D Manufacturing does every day. Send the CAD for an on-demand quote, or talk with us about the path that fits your quantity and risk.