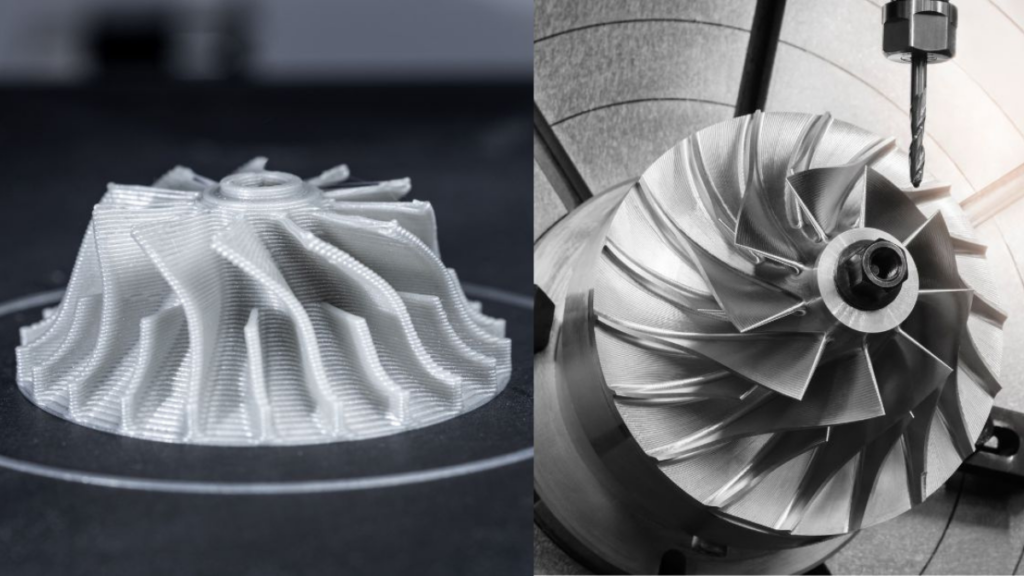
Most teams ask the wrong first question after design locks: should we 3D print this product, or tool it for injection molding? A3D Manufacturing's answer is that the product is the wrong unit. A finished unit is a bill of materials. Each line can – and often should – take a different manufacturing path.
That is the throughline of Episode 2 of Design, Validate, Scale, the five-part fireside chat series from A3D Manufacturing and Hawk Ridge Systems. Episode 1 covers design. Episode 2 is the decision that comes next: the CAD is locked, and someone has to choose how every part gets made.
Host David Whitten, an account manager at Hawk Ridge Systems, sits down with Michael Dymond, product manager at A3D Manufacturing. Michael brings a materials science background, a decade in the industry, and more than 6,000 projects. His case in this episode is practical: do not force one process onto an entire product. Steer each part toward the method that fits it.
Start With Quantity, Then Geometry, Then Material
- Quantity is the first filter, whether demand is proven or still a range
- Size and geometry come next
- Performance requirements – heat, chemicals, strength – come after that
- Those three answers usually point to additive, traditional, or a mix
"One of the very first questions we ask when we're interrogating a project is the quantity – the demand you're expecting." – Michael Dymond, Product Manager, A3D Manufacturing
Before tolerances and finish, Michael asks how many. Known run rate or first-of-its-kind guess, the number still comes first, because processes carry different bills before the first part ships. Injection molding means paying for a tool up front. 3D printing, or soft tooling like urethane casting, lets a team start without that commitment.
Then comes the physical part: how big is it, and what does the geometry look like? Only after that do the hard requirements enter – the heat resistance or chemical resistance you can only get from one alloy or one polymer. Get that order right and the process options narrow on their own.
Additive Where It Earns Its Keep
- Low quantity: prototypes, demos, decision samples
- Performance geometry: lightweighting, internal channels, features additive handles better than machining
- Not a default for every part – a fit for specific jobs
Additive is the clear call for iteration. Prototypes, trade-show demos, a sample to get a decision maker to a yes or a no. Nobody tools an injection mold for two parts that are going to get beaten up in the field.
The stronger case is performance. Lightweighting in aerospace. Cooling channels and internal structures CNC could technically cut, but additive builds more cleanly – and the performance gain is real. That is a capability argument more than a cost argument. Plenty of engineers still picture additive as it was a few years ago. The production versions available now are a different category.
Traditional Is a Wider Menu Than CNC and Molding
- Quantity, materials, and tight tolerances push teams toward traditional methods
- The menu includes urethane casting, compression molding, sheet metal, stamping, die casting, and more
- Each method has a geometry it prefers
Traditional manufacturing is not a two-option shortlist. Michael walks through urethane casting in silicone, compression molding in steel without full injection-molding cost, waterjet, sheet metal, press brake, stamping, die casting, and wire forming. Sheet metal wants flat. A stamped bracket that can run every ten seconds for a week does not belong on a printer waiting a day for six pieces.
Materials and tolerances finish the case. Printable materials have come a long way, but they still do not cover every alloy, sheet, and pellet. Once the drawing calls for a few thousandths or tenths, the conversation moves to CNC machining.
"You can take individual parts and geometries within your BOM and steer them into their strong suits." – Michael Dymond, Product Manager, A3D Manufacturing
Match the Process to the Part's Cost Shape
- Additive: little or no tooling; unit cost rises on large, simple parts
- Injection molding: high tooling cost; very low unit cost at volume
- CNC: some fixture cost; moderate unit cost
- Small or uncertain parts stay flexible; large, locked parts justify tooling
The reason a mixed bill of materials works is that the main processes have opposite cost shapes. Additive has almost no investment up front, but unit cost climbs quickly on parts that are big and simple. "The worst thing you can 3D print," Michael says, "is a real big, simple box." Injection molding flips that: tens of thousands in tooling for a very low per-part cost at volume. CNC sits in the middle, with fixture cost and a moderate unit price.
Line those shapes up against a BOM and the rule is clear. Keep smaller, less certain, or fast-changing parts on additive. Tool the large geometries you trust. That is how hybrid manufacturing shows up as a strategy at A3D: a per-part decision across the assembly, not a single machine or process.
The Enclosure Example: Mold What Is Locked, Print What Is Moving
- Locked form factor -> tooling candidate
- Changing interface -> print candidate
- Hybrid can cost less than an all-molded plan
- Hardware updates then need a new file, not a new tool
Michael uses an example of an electronics enclosure. The main housing is locked, so it goes to injection molding. The user interface – screen, ports, battery location – is still moving. Instead of molding everything, A3D molds the enclosure and 3D prints the face plates, interface plates, and bezels.
You might expect unit cost to fall the further a team pushes into traditional methods. It does not. The hybrid plan costs less than molding the whole assembly, and it keeps the interface changeable. When the hardware updates, you send a new print file instead of cutting a new tool.
There is a workflow advantage too. Additive does not need finished drawings. Send a CAD model and printed parts can be quoted before anyone spends time on traditional engineering drawings. Some of Michael's customers send two or three variants at once to get three learning cycles in one shot.
Now, Next, Later
- Hybrid can be a path over time: print -> higher-fidelity print -> urethane -> tool
- Hybrid can also be permanent: printed parts stay in the production unit
- Break-even quantity is not one number – size and material set it
- Teams leave the spreadsheet number on purpose, in both directions
"It's the NML approach: what do you need now, what are you going to need next a couple months, what are you going to need way down the path later." – Michael Dymond, Product Manager, A3D Manufacturing
Some customers walk a linear path: prototype on the printer, bridge with higher-fidelity print or urethane casting, then tool for injection molding. Others ship production units with printed parts indefinitely unless feedback forces a change. Both are hybrid. The difference is the clock.
That is why Michael will not give a single break-even quantity. Very small, complex parts can stay on the printer into the thousands – complexity is free in additive, and a build can hold a lot of them. Large parts in a high-performance polymer can justify tooling at surprisingly low quantities. Teams also leave the on-paper number deliberately: tool earlier for finish, texture, or a specific resin; stay on the printer longer when a design change is likely and agility matters more than the spreadsheet ROI.
Frequently Asked Questions
Why decide manufacturing method per part instead of per product?
Because a product is a bill of materials. Each part has its own quantity profile, geometry, material needs, and change risk. One process for the whole product usually overpays on some lines and under-serves others.
Can 3D printed and injection molded parts ship in the same product?
Yes. In the enclosure example above, the locked housing is molded and the changing interface parts are printed. That mix cuts cost versus molding everything and keeps the interface easy to update.
When does a large, simple part belong on a printer?
Rarely, if the goal is cost. Additive unit cost scales with material and build time, and a big simple part has a lot of both without the complexity that makes printing valuable. Those parts usually belong on molding or sheet metal once quantity justifies it.
Where does urethane casting fit?
As a bridge. Silicone tooling delivers molded-looking parts – including tinted or clear parts with pigment in the material – at quantities that do not yet justify steel injection-mold tooling.
What is Now, Next, Later?
Michael's way of putting a clock on the path: what you need now, what you will need in a few months, and what you will need much later. Answering all three keeps teams from tooling too early or staying on the printer too long.
Do 3D printed parts look like production parts?
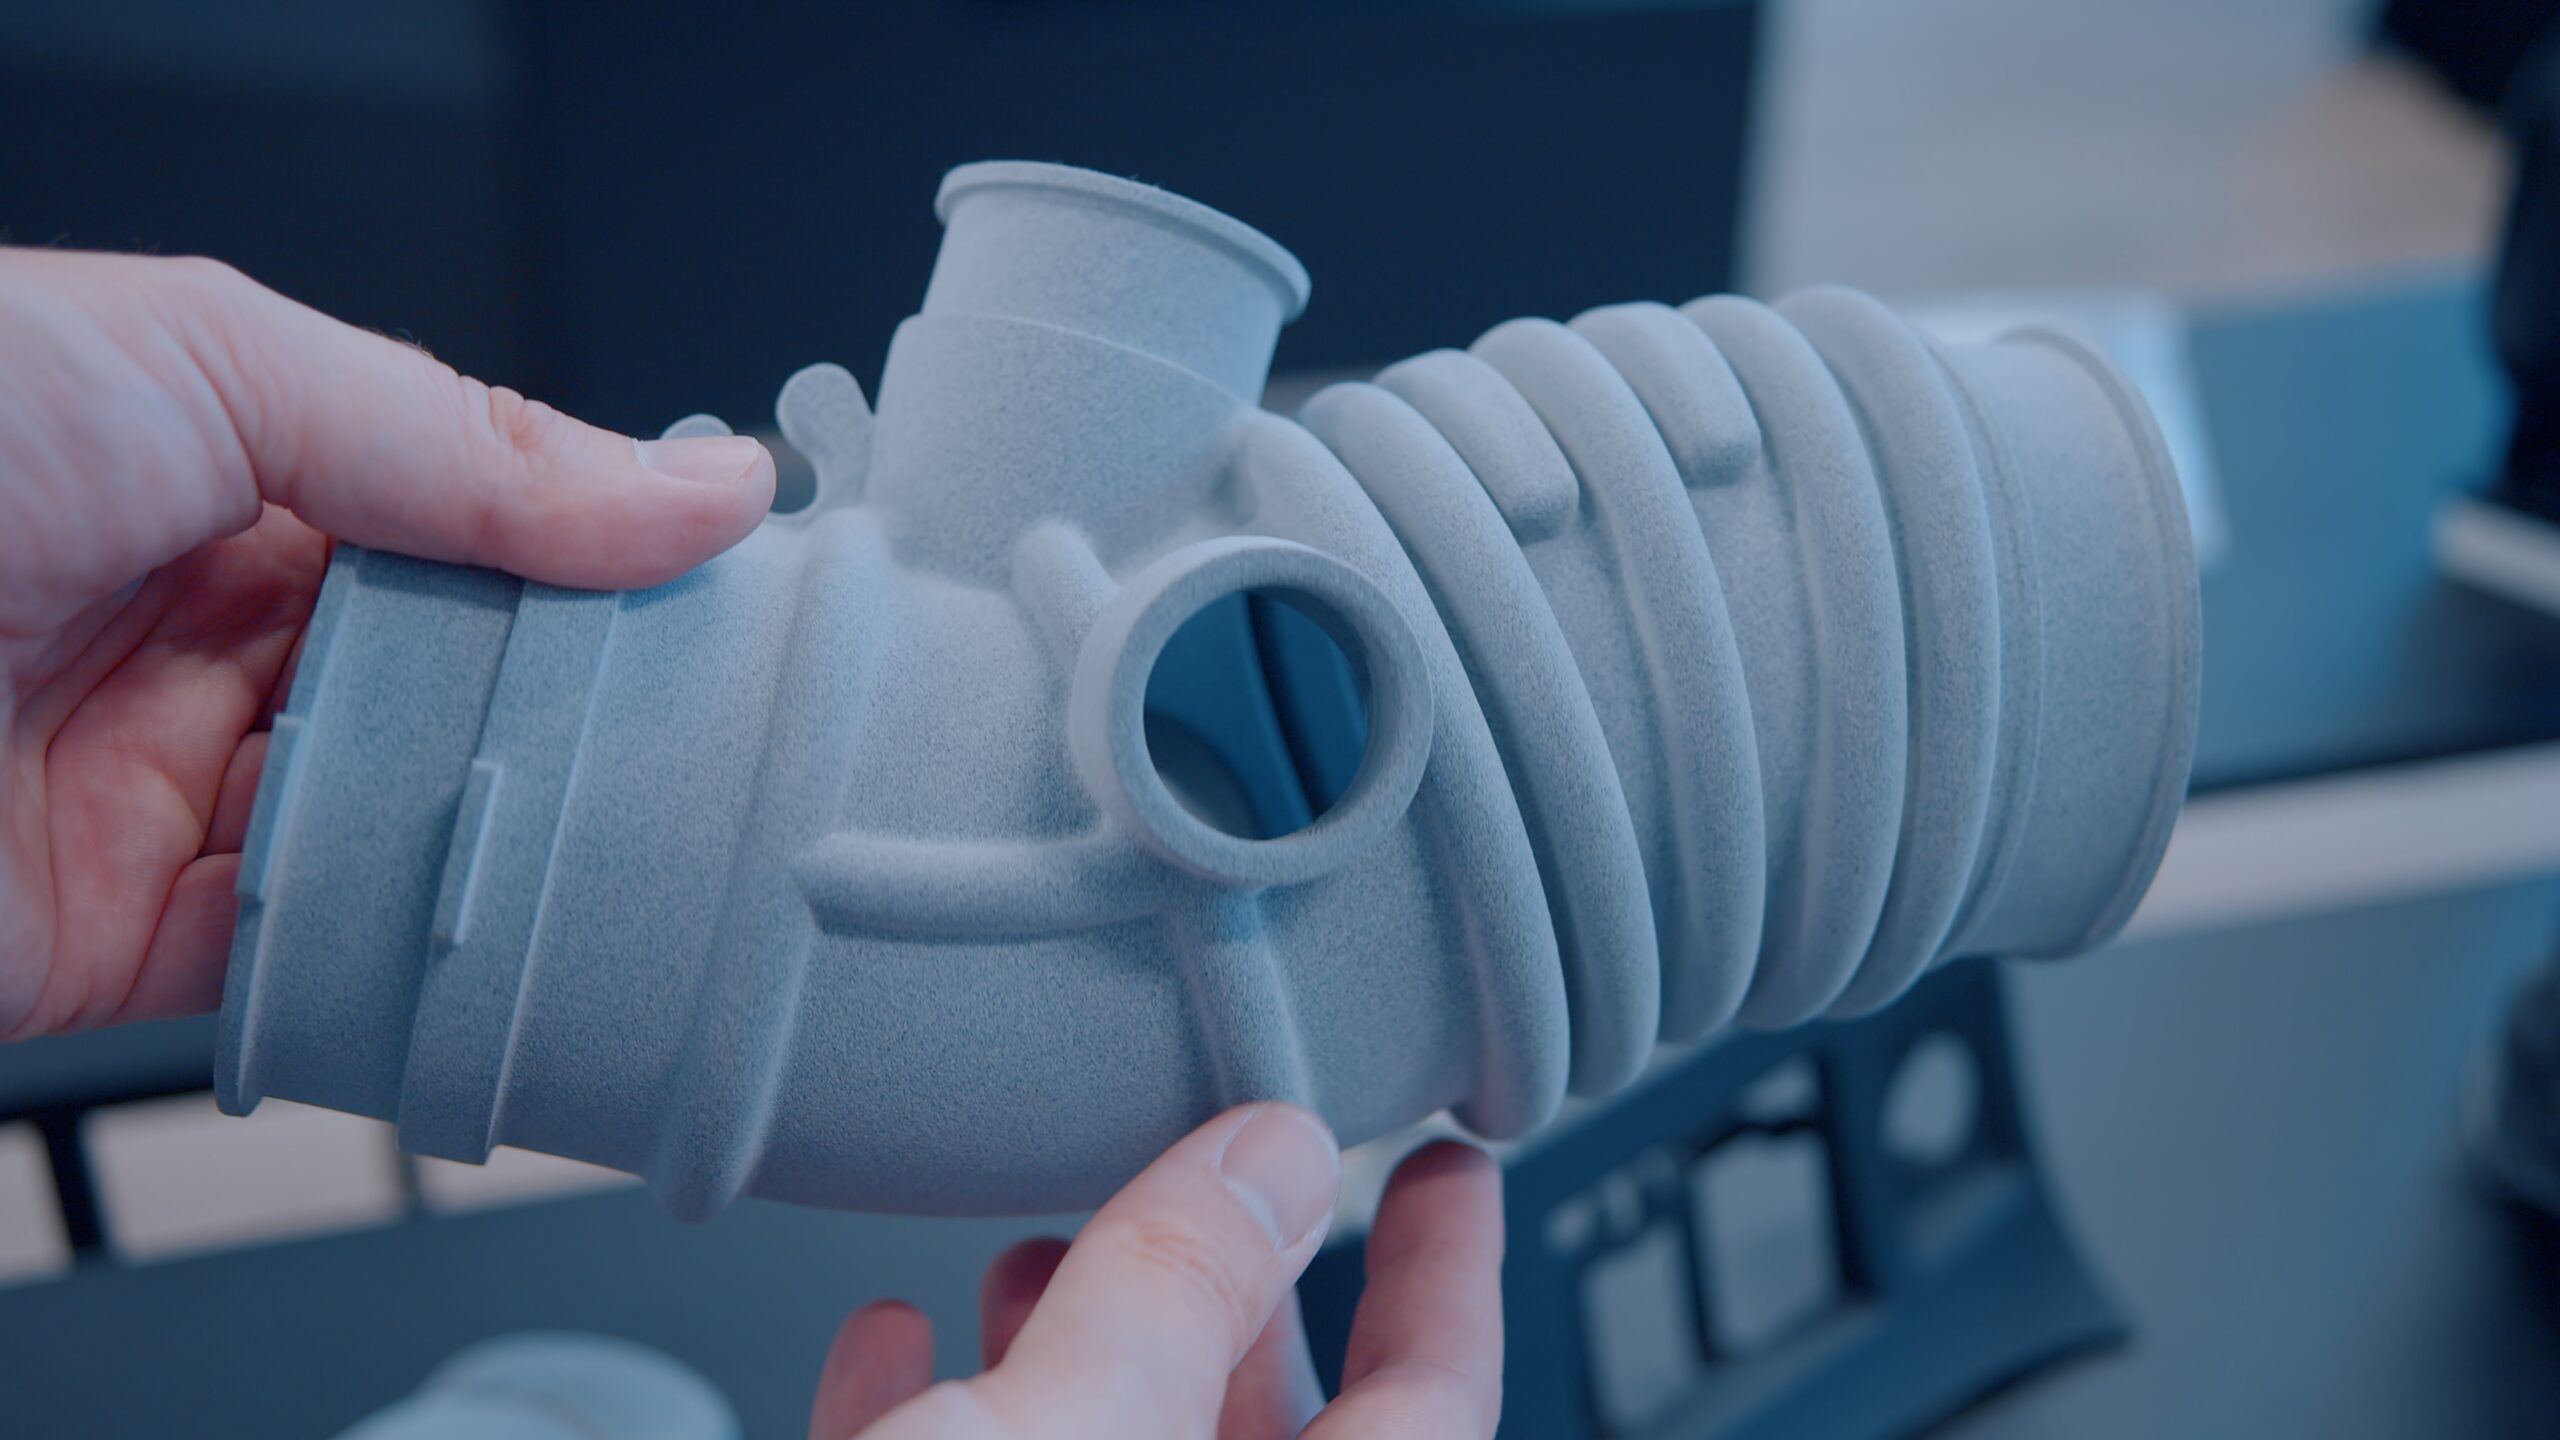
Most people still picture FDM layer lines. For customer-facing production, A3D leans on powder-based processes: matte off the printer, dyed black for a rugged look that lands well in defense and government work, or white, vapor-smoothed, and glossed for a clean medical-device finish. Michael is cautious about SLA for end-use parts – light cures them, and light can over-cure and embrittle them later.
How do you get clear or tinted production parts?
For production quantities, injection molding starts with clear polycarbonate and molds pigment into the plastic. Urethane casting does the same for bridge quantities, with pigment added carefully so the color lives in the part, not as a coating that scratches off.
Watch the Full Fireside Chat: Episode 2, Choosing the Right Manufacturing Path
Want the full visual session with the slides, including the decision matrix Michael and David walk through? Sign up to watch the complete fireside chat – it takes a few seconds.
Chapters
- 0:00 – Welcome & pre-show: a Wall-E animatronic rescue
- 2:09 – Intros & the Design. Validate. Scale. series
- 5:19 – Picking a production method: start with quantity & geometry
- 6:27 – The fork in the road: additive vs. traditional
- 8:03 – Where additive shines: prototyping, complex geometry, low volumes
- 10:19 – A tour of traditional methods: CNC, sheet metal, molding & casting
- 13:03 – The decision matrix & hybrid manufacturing
- 20:17 – The NML framework: Now, Next, Later
- 21:08 – Live Q&A
- 21:54 – Q: Do 3D-printed parts look production-ready?
- 26:01 – Q: At what quantity do you switch from 3D printing to injection molding?
- 28:01 – Q: Is metal additive a good fit for my part?
- 30:03 – Wrap-up & what's next
Coming Up in the Design, Validate, Scale Series
Key takeaways from Episode 2:
- Ask how many, then how big, then what the part has to survive – then choose the process
- Decide per part, not per product; a mixed BOM is often cheaper and more adaptable
- Put a clock on it: now, next, and later can each use a different method
Episode 2 is the decision step between design and production. Episode 3 goes live Thursday, September 24 (Pacific) and moves into validation and prototyping, with bridge production and full mass production after that. Register once for the series and every session is available on demand.
If you have a BOM and are not sure which lines belong on a printer and which belong in a tool, that is the work A3D Manufacturing does every day. Send the CAD for an on-demand quote, or talk with us about the full path.